The Honeywell T4 Pro Thermostat is a programmable, efficient device designed for ease of use and compatibility with various heating and cooling systems, ideal for smart home management.
1.1 Overview of the Honeywell T4 Pro Series
The Honeywell T4 Pro Series is a line of programmable thermostats designed for efficiency and compatibility with various heating, cooling, and ventilation systems. It offers advanced features like scheduling, energy-saving modes, and intuitive controls, making it suitable for both residential and light commercial applications. The series is known for its user-friendly interface and adaptability to different HVAC setups, including forced air and hydronics. With options for wireless connectivity and battery or hardwired power, the T4 Pro Series provides flexibility and reliability. Its sleek design and easy installation process make it a popular choice for homeowners and professionals seeking a modern, efficient temperature management solution.
1.2 Key Features of the T4 Pro Thermostat
The Honeywell T4 Pro Thermostat boasts a range of innovative features designed to enhance comfort and energy efficiency. It offers programmable scheduling, allowing users to set temperature preferences for different times of the day. The thermostat supports multiple heating and cooling stages, ensuring precise temperature control. Additionally, it features energy-saving modes and geofencing capabilities, which adjust settings based on occupancy. The T4 Pro also includes a touchscreen interface for easy navigation and smart alerts for system maintenance reminders. Compatibility with various HVAC systems, including forced air and hydronics, makes it versatile for different home setups. Its advanced features and user-friendly design make it a reliable choice for modern home climate control.
Pre-Installation Requirements
Before installing the Honeywell T4 Pro Thermostat, ensure compatibility with your HVAC system, verify electrical requirements, and prepare necessary tools for a smooth setup process.
2.1 Package Contents
The Honeywell T4 Pro Thermostat package includes the T4 Pro Thermostat, UWP Mounting System, Honeywell Standard Installation Adapter, decorative cover plate, screws, anchors, and 2 AA batteries for power.
2.2 Tools and Materials Needed
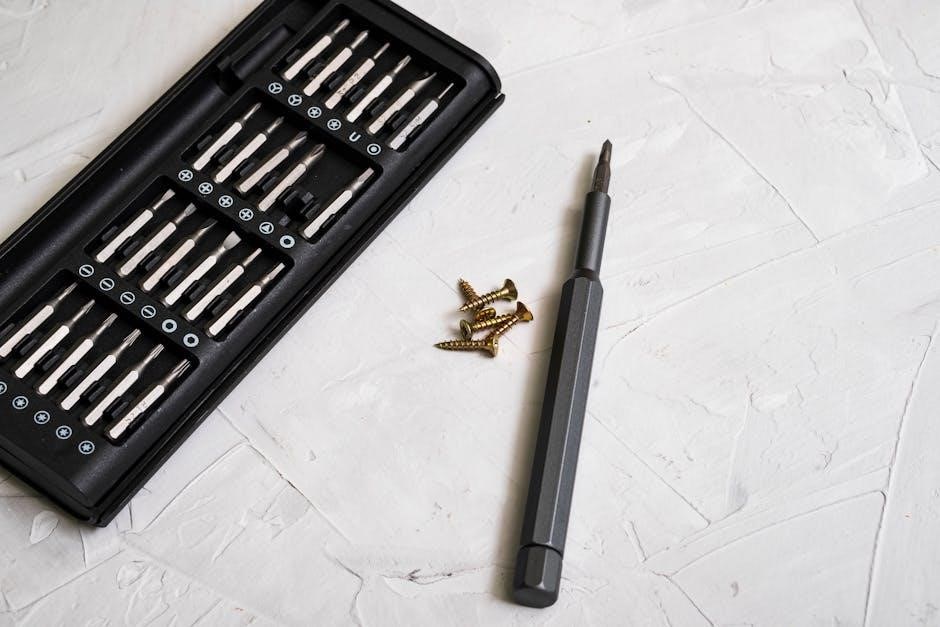
For installing the Honeywell T4 Pro Thermostat, you will need a screwdriver, drill, and level for mounting. Wire strippers and a voltage tester are essential for safe wiring. Additional materials include wall anchors, screws, and a ladder for higher installations. Ensure all tools are readily available to streamline the process.
2.3 Safety Precautions
Before installing the Honeywell T4 Pro Thermostat, ensure the power to your HVAC system is turned off at the breaker box. Verify the furnace door is securely closed to avoid accidental start-ups. Use fresh AA alkaline batteries for reliable operation. When handling wires, ensure all connections are secure to prevent short circuits. Always follow the manufacturer’s guidelines for wiring and installation. If unsure, consult a licensed electrician. Never bypass safety features or attempt to modify the thermostat beyond recommended configurations. Proper grounding and adherence to local electrical codes are essential for safe installation and operation.
Installation Process
The Honeywell T4 Pro Thermostat installation involves separating the wallplate, connecting wires according to the terminal designations, and configuring the Installer Setup (ISU) parameters for optimal performance.
3.1 Power Options for the T4 Pro
The Honeywell T4 Pro Thermostat offers flexible power options, including 2 AA alkaline batteries for wireless operation or hardwiring via the C terminal for a reliable power supply. Batteries provide convenience, while hardwiring ensures continuous operation without battery replacements. The thermostat automatically detects the power source, optimizing performance in either mode. For hardwiring, connect the C terminal to a 24VAC common wire from the HVAC system. Always turn off power at the breaker before installing or servicing to ensure safety. This dual-power capability makes the T4 Pro adaptable to various home setups, offering both flexibility and reliability for heating and cooling control.
3.2 Wiring Requirements
Proper wiring is essential for the Honeywell T4 Pro Thermostat to function correctly. Connect the R (24VAC) and C (common) wires to their respective terminals for a reliable power supply. The Y terminal connects to the compressor contactor, while W controls the heating relay. For heat pumps, the O/B terminal is used. Additional wires like G (fan) and AUX (auxiliary heat) may be required, depending on your system. Always turn off power at the breaker before wiring to avoid electrical hazards. Ensure all connections are secure and match your HVAC system’s configuration. If unsure, consult a licensed electrician to avoid installation errors. Proper wiring ensures safe and efficient thermostat operation.
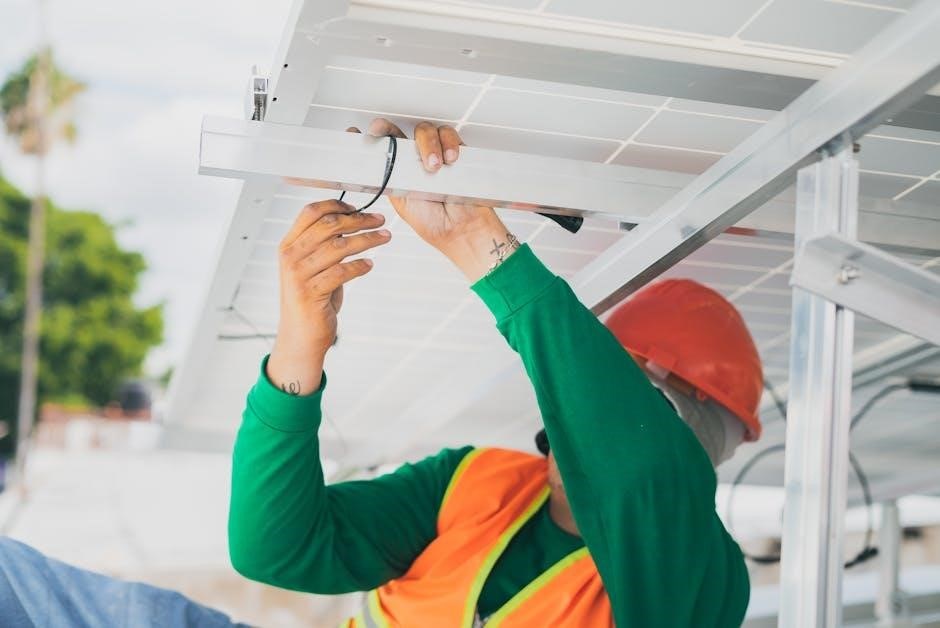
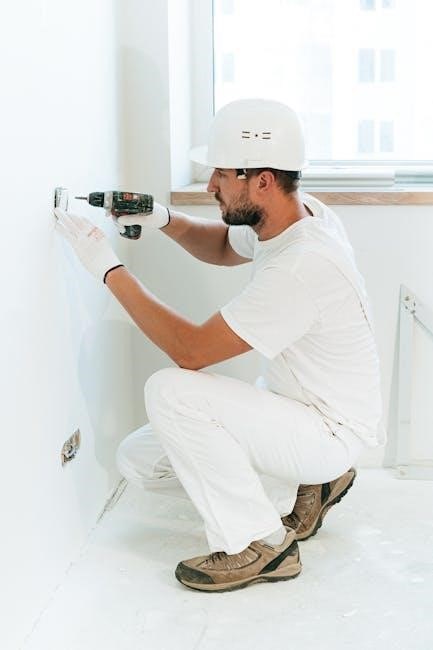
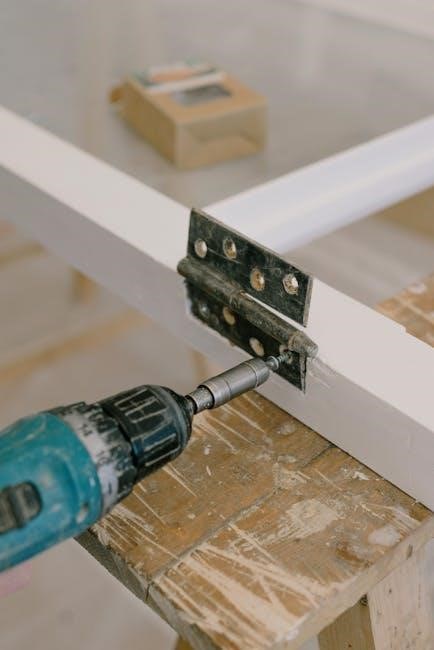
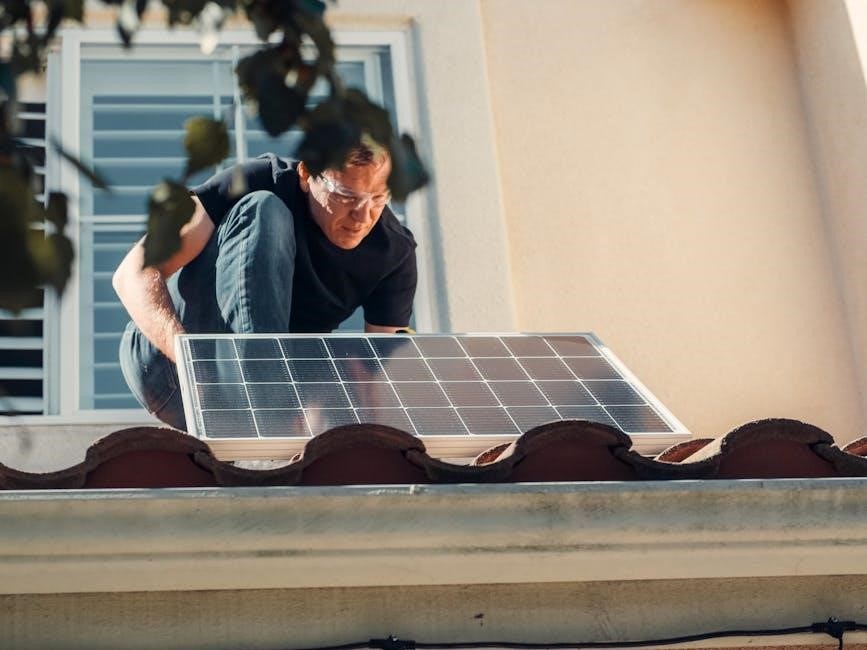
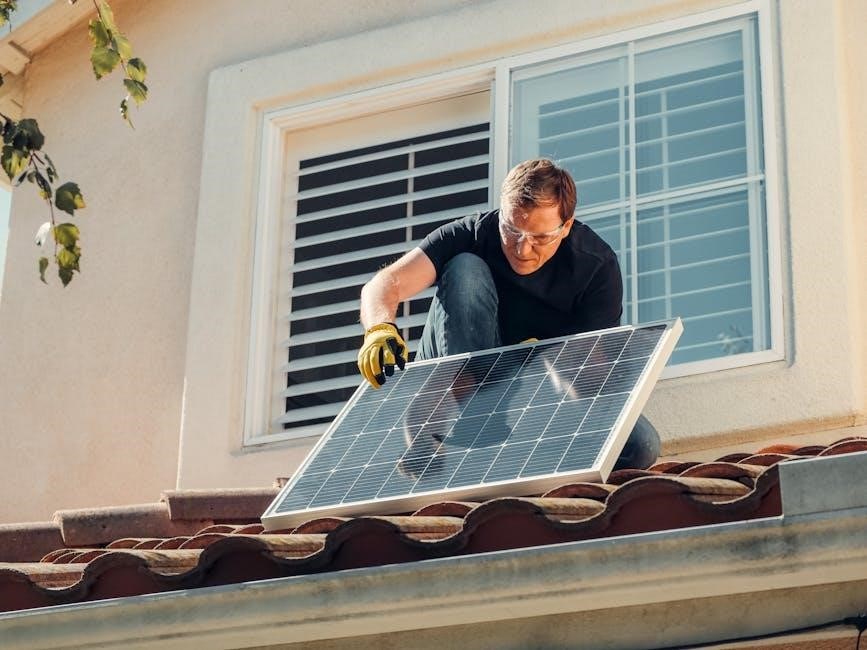
3.3 Mounting the Thermostat
Mounting the Honeywell T4 Pro Thermostat requires careful preparation and alignment. Begin by separating the wallplate from the thermostat and attaching it to the junction box using the provided screws. Ensure the wallplate is level and securely fastened. Align the thermostat with the wallplate, gently pressing it into place until it clicks. Use the UWP Mounting System for compatibility with various junction box configurations. If using the Honeywell Standard Installation Adapter, attach it to the wallplate before mounting. Once mounted, verify that the thermostat is snug and even to ensure proper functionality. Avoid over-tightening screws to prevent damage to the device or wall. Proper mounting ensures reliable performance and a sleek appearance.
3.4 Installer Setup (ISU) Configuration
After mounting the thermostat, access the Installer Setup (ISU) menu by pressing and holding the CENTER and buttons for 3 seconds. Use the navigation buttons to scroll through options like system type, heat pump configuration, and compressor staging. Enter the default passcode (1234) to unlock advanced settings. Select the appropriate parameters for your HVAC system, such as forced air or hydronics, and adjust the fan and compressor settings as needed. Save changes by exiting the menu. Proper ISU configuration ensures optimal performance and compatibility with your heating and cooling system. Refer to the manual for a complete list of ISU parameters and options.

Wiring and Connections
The Honeywell T4 Pro requires precise wiring connections, including Y (compressor), C (common), G (fan), W (heat), and auxiliary wires for proper system functionality and control.
4.1 UWP Wiring Terminal Designations
The UWP wiring system for the Honeywell T4 Pro Thermostat simplifies connections with designated terminals for specific functions. The Y terminal connects to the compressor contactor, while the C terminal provides a 24VAC common connection. The G terminal controls the fan relay, and the W terminal manages the heat relay. Auxiliary wires, such as AUX (W2), are used for secondary heating sources. The R and C wires are essential for powering the thermostat. Proper alignment of these wires ensures seamless system operation and compatibility with both conventional and heat pump systems, making installation straightforward and efficient for HVAC technicians and DIY installers alike.
4.2 Conventional System Wiring (Forced Air and Hydronics)
For conventional systems, the Honeywell T4 Pro Thermostat supports forced air and hydronic configurations. The Y terminal connects to the compressor contactor, while the G terminal controls the fan relay. The W terminal is used for heat relay (stage 1), and the C terminal provides the 24VAC common connection. Auxiliary wires like AUX (W2) are optional for secondary heating sources. For hydronic systems, the same terminals apply, ensuring compatibility with radiant floor heating or zoned systems. Proper wiring ensures precise temperature control and efficient system operation, making the T4 Pro adaptable to both forced air and hydronic setups without compromising performance or functionality.

Thermostat Mounting and Setup
The Honeywell T4 Pro Thermostat offers a straightforward mounting process using the UWP Mounting System or the Honeywell Standard Installation Adapter for compatibility with existing setups. The included decorative cover plate enhances the aesthetic appeal. Key steps involve separating the wallplate, connecting wires to designated terminals, and securing the thermostat. The system ensures precise alignment and level installation, vital for accurate temperature sensing. Compatible with both forced air and hydronic systems, the T4 Pro integrates seamlessly with standard HVAC configurations, providing reliable performance and energy efficiency. The mounting process is designed to be tool-friendly, with screws and anchors provided for a secure installation.
5.1 UWP Mounting System Installation
The UWP Mounting System simplifies the installation of the Honeywell T4 Pro Thermostat, ensuring a secure and level fit. Begin by separating the wallplate from the thermostat and attaching it to the wall using the provided screws and anchors. Align the wallplate with the junction box or existing wiring setup for proper alignment. Once the wallplate is securely mounted, connect the wires to the appropriate terminals, ensuring they are tightly fastened. Finally, attach the thermostat to the wallplate, snapping it into place until it clicks. This system ensures a clean, professional installation with minimal tools required, making it user-friendly and efficient. The UWP Mounting System is designed for compatibility with various wall types, providing a sturdy base for the thermostat.
5.2 Honeywell Standard Installation Adapter Usage
The Honeywell Standard Installation Adapter, also known as the J-box adapter, is included in the package to simplify installations where a junction box is absent or the wall surface is uneven. This adapter provides a sturdy base for mounting the thermostat, ensuring it is level and securely fastened. It comes with screws and anchors, making the installation process straightforward without the need for additional tools or materials. The adapter is designed to work seamlessly with the UWP Mounting System, offering a professional-looking installation. By using the Honeywell Standard Installation Adapter, you can achieve a secure and reliable setup for your T4 Pro Thermostat, even in challenging wall conditions.
Advanced Configuration Options
The Honeywell T4 Pro offers advanced setup options through Installer Setup (ISU) parameters, enabling customization of temperature limits, stage controls, and system compatibility for precise heating and cooling management.
6.1 Installer Setup (ISU) Parameters
The Installer Setup (ISU) parameters on the Honeywell T4 Pro Thermostat allow technicians to customize advanced settings for optimal system performance. By accessing the ISU menu, installers can configure temperature limits, stage controls, and system compatibility. This feature ensures the thermostat operates seamlessly with various HVAC systems, including heat pumps and conventional setups. The ISU menu is accessed by pressing and holding the center button and another button simultaneously, followed by entering a passcode. Parameters include options for temperature differential, compressor protection, and fan operation. These settings are crucial for fine-tuning the thermostat to meet specific installation requirements and ensure efficient heating and cooling. Proper configuration guarantees reliable performance and user satisfaction.
6.2 Advanced Setup Options for Heating and Cooling
The Honeywell T4 Pro Thermostat offers advanced setup options for heating and cooling systems, allowing precise control over temperature, humidity, and fan operation. These settings enable customization to suit specific HVAC configurations, such as multi-stage heating and cooling systems. Users can adjust temperature differentials, compressor protection timings, and fan operation modes to optimize performance. Additionally, the thermostat supports geothermal systems and dual fuel setups, ensuring compatibility with a wide range of installations. These advanced options are accessed through the Installer Setup (ISU) menu, providing professionals with the tools to fine-tune the system for maximum efficiency and comfort. Proper configuration enhances energy savings and system longevity.
Programmable Features
The Honeywell T4 Pro Thermostat offers programmable scheduling, energy-saving modes, and customizable settings, allowing users to optimize heating and cooling operations for comfort and efficiency.
7.1 Scheduling and Programming Options
The Honeywell T4 Pro Thermostat offers flexible scheduling and programming options, enabling users to set customized temperature profiles for different times of the day and week. With its intuitive interface, homeowners can program up to six daily temperature settings, ensuring optimal comfort while reducing energy consumption. The thermostat supports both residential and commercial applications, allowing for tailored schedules that align with specific needs. Additionally, its energy-saving modes and programmable features integrate seamlessly with its advanced temperature control system, providing a user-friendly experience. The T4 Pro also allows for manual overrides, giving users the flexibility to adjust settings as needed without disrupting the programmed schedule.
7.2 Energy-Saving Modes and Settings
The Honeywell T4 Pro Thermostat features advanced energy-saving modes designed to optimize energy consumption while maintaining comfort. Users can enable energy-saving settings that automatically adjust temperatures during periods of inactivity or sleep. The thermostat also offers programmable energy-saving modes, allowing homeowners to set specific temperature ranges for heating and cooling. Additionally, the T4 Pro includes features like Smart Response Technology, which learns the system’s operation to minimize energy use. These settings can be easily configured through the thermostat’s interface or via the Installer Setup (ISU) menu. By utilizing these modes, users can significantly reduce their energy bills without compromising on comfort or convenience.
Power and Battery Management
The Honeywell T4 Pro Thermostat operates on 2 AA alkaline batteries or can be hardwired for continuous power. It features energy-efficient battery management to prolong life.
8.1 Battery Installation and Maintenance
The Honeywell T4 Pro Thermostat requires 2 AA alkaline batteries for operation. To install, open the battery compartment on the back, ensuring correct polarity. Replace batteries when the display dims or shows a low-battery warning. For maintenance, avoid extreme temperatures and moisture. Check expiration dates before installation and clean terminals with a soft cloth if corroded. Replace batteries annually or as needed. If hardwired, batteries act as a backup during power outages. Proper installation ensures reliable performance and extends battery life. Always use high-quality alkaline batteries for optimal results.
- Insert batteries with ‘+’ and ‘-‘ aligned correctly.
- Avoid mixing old and new batteries.
- Store spare batteries in a cool, dry place;
8.2 Hardwiring the Thermostat
Hardwiring the Honeywell T4 Pro Thermostat provides a reliable power source, eliminating battery dependency. Connect the 24VAC common wire to the C terminal on the thermostat. Ensure the power switch for the HVAC system is turned off before wiring. Use the provided J-box adapter for secure mounting. Connect the appropriate heating, cooling, and fan wires to their designated terminals. Turn the power back on and test the thermostat to ensure proper function. Hardwiring is recommended for continuous operation, especially in systems without battery backup. Always follow safety precautions and consult a professional if unsure.
- Connect 24VAC common to C terminal.
- Ensure power is off during wiring.
- Use J-box adapter for secure installation.
- Test system after wiring completion.
Troubleshooting Common Issues
Troubleshooting the Honeywell T4 Pro Thermostat involves addressing common issues like incorrect wiring, battery problems, or display malfunctions. Refer to the manual for specific error codes and solutions.
- Check wiring connections for accuracy.
- Ensure batteries are fresh and correctly installed.
- Consult error codes for detailed diagnostics.
9.1 Common Installation Mistakes
Common installation mistakes for the Honeywell T4 Pro Thermostat often include incorrect wiring connections, improper battery installation, and overlooking safety precautions. These errors can lead to system malfunctions or display issues. Ensuring proper wiring according to the terminal designations (e.g., R, C, W, Y) is crucial. Additionally, failure to use fresh AA batteries or incorrect polarity can prevent the thermostat from functioning correctly. Ignoring the Installer Setup (ISU) configuration steps may result in improper system operation. Always refer to the manual for specific guidelines to avoid these pitfalls and ensure a smooth installation process.
- Incorrect wiring connections.
- Improper battery installation.
- Overlooking ISU configuration.
9.2 Diagnostic Tools and Error Codes
The Honeywell T4 Pro Thermostat includes diagnostic tools to identify and resolve common issues. Error codes such as E1, E2, and E3 indicate specific problems like sensor malfunctions or system communication failures. The thermostat’s display provides clear error messages, guiding users or installers to potential solutions. Additionally, the Installer Setup (ISU) menu offers advanced diagnostic options to troubleshoot wiring or system compatibility issues. Referencing the user manual or online support resources can help interpret these codes and resolve problems efficiently.
- E1: Sensor or temperature-related issues.
- E2: Communication or wiring faults.
- E3: System malfunction or configuration errors.
Maintenance and Upkeep
Regular maintenance ensures optimal performance. Clean the display gently, replace batteries annually, and inspect wires for damage. Update software regularly for enhanced functionality and security.
10.1 Cleaning the Thermostat
Cleaning the Honeywell T4 Pro Thermostat is essential for maintaining its performance and appearance. Power off the device before cleaning to avoid damage. Use a soft, dry cloth to wipe the thermostat’s surface, carefully removing dust or debris. For stubborn marks, a slightly damp cloth can be used, but ensure no moisture seeps inside. Avoid harsh chemicals or abrasive cleaners, as they may damage the display or housing. Regular cleaning prevents dust buildup, which can interfere with temperature sensing and touchscreen functionality. Do not immerse the thermostat in water or expose it to excessive moisture. Clean the screen gently to maintain its responsiveness and clarity. Touching the screen should be minimized to prevent smudges and fingerprints. Regular maintenance ensures consistent operation and longevity of the device.
10.2 Regular Software Updates
Regular software updates are crucial for optimizing the performance and functionality of the Honeywell T4 Pro Thermostat. Updates often include bug fixes, enhanced features, and improved compatibility with smart home systems. To update, navigate to the thermostat’s menu, select “Settings,” and choose “Software Update.” Ensure the device is connected to Wi-Fi for seamless downloading. Follow on-screen instructions to install the update, and note that the thermostat may restart during the process. Always complete the update process to avoid interruptions in heating or cooling functions. Regular updates ensure the thermostat operates efficiently and securely, providing consistent temperature control and smart home integration capabilities.
The Honeywell T4 Pro Thermostat offers a user-friendly solution for managing home heating and cooling systems efficiently. Its programmable features, compatibility with smart home devices, and energy-saving modes make it an excellent choice for modern households. By following the installation manual and maintaining regular software updates, users can ensure optimal performance and extend the product’s lifespan. The thermostat’s intuitive design and advanced features provide consistent comfort while reducing energy consumption. With proper care and maintenance, the Honeywell T4 Pro remains a reliable and efficient temperature control solution for years to come, offering both convenience and cost savings.